Installation Guide for Bike Tank Covers
Installing a bike tank cover is a simple process that enhances both protection and style. Here’s a step-by-step guide based on different types of tank covers:
1. General Preparation Before Installation
✅ Clean the fuel tank – Wipe off dust, dirt, and grease for a proper fit.
✅ Check the cover type – Whether it’s magnetic, strapped, or adhesive-based, understand the mechanism.
✅ Ensure a secure fit – Choose the correct size based on your bike model.
2. Installing Different Types of Tank Covers
A. Magnetic Tank Cover Installation (Quick & Tool-Free)
🔹 Step 1: Place the cover over the fuel tank, aligning it with the tank’s shape.
🔹 Step 2: The built-in magnets will grip the metal tank automatically.
🔹 Step 3: Adjust and smooth out any air bubbles or uneven areas.
🔹 Step 4: Check the fit by gently pulling on the edges.
📌 Note: Magnetic covers don’t work on plastic or fiberglass tanks.
B. Strap-Based Tank Cover Installation (For Secure Fit & Extra Storage Covers)
🔹 Step 1: Position the cover over the tank, ensuring proper alignment.
🔹 Step 2: Attach the elastic or adjustable straps around the fuel tank.
🔹 Step 3: Tighten the straps securely to avoid movement during rides.
🔹 Step 4: Double-check that the straps don’t interfere with the handlebars or fuel cap.
📌 Tip: For long-distance riders, strap covers with small storage pockets are useful.
C. Adhesive/Stick-On Tank Pad Installation (For Scratch Protection & Grip Pads)
🔹 Step 1: Clean the tank surface with alcohol wipes or mild soap to remove dust.
🔹 Step 2: Peel off the protective backing of the adhesive layer.
🔹 Step 3: Carefully place the pad onto the tank in the desired position.
🔹 Step 4: Press firmly for 1-2 minutes to ensure a strong bond.
🔹 Step 5: Let it set for a few hours before riding.
📌 Tip: Apply when the tank is warm and dry for better adhesion.
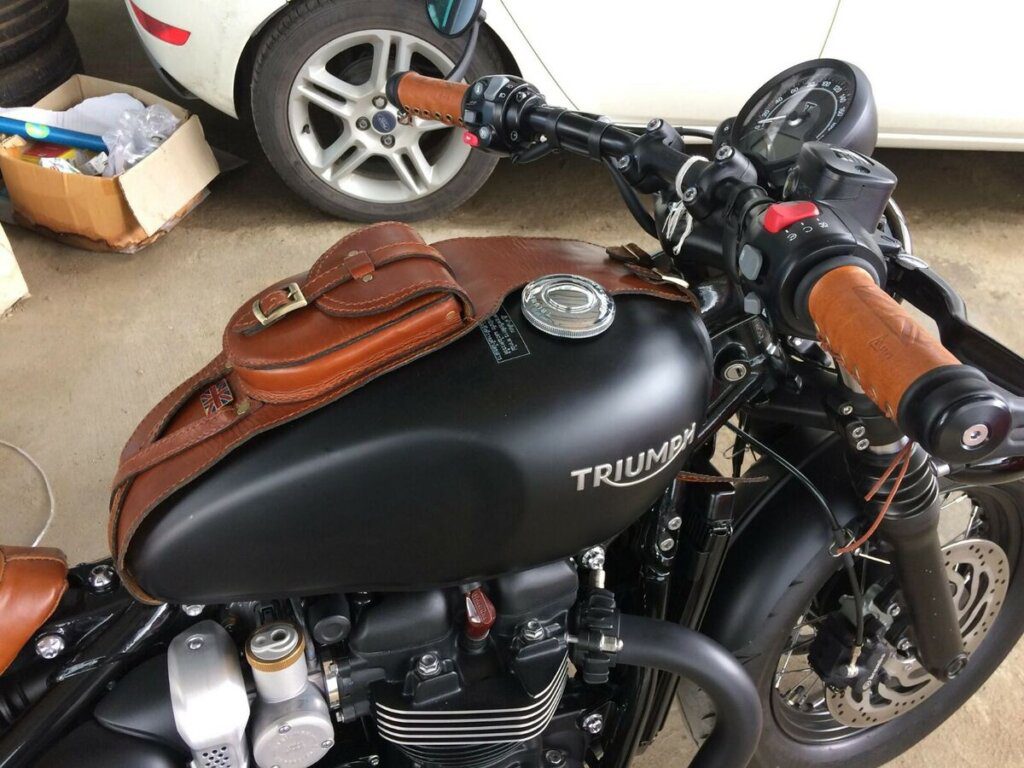
D. Custom-Fit Leather Tank Cover Installation (For Cruiser & Vintage Bikes)
🔹 Step 1: Align the cover with the fuel tank’s contour.
🔹 Step 2: Use pre-installed hooks, buttons, or velcro straps to attach the cover.
🔹 Step 3: Secure any buckles or tie-down straps provided with the cover.
🔹 Step 4: Ensure that it fits snugly without covering the fuel cap.
📌 Tip: Use leather conditioner to maintain the premium look.
3. Final Checks After Installation
✅ Ensure no movement – A properly fitted cover shouldn’t shift while riding.
✅ Verify accessibility – The fuel cap should remain fully accessible.
✅ Check for interference – The cover shouldn’t affect handlebar movement.
✅ Inspect for air bubbles – Smooth out any gaps in adhesive-based covers.
4. Removing & Maintaining a Tank Cover
🔹 For Magnetic Covers: Simply lift and store when not in use.
🔹 For Strap-Based Covers: Unbuckle or loosen straps and remove carefully.
🔹 For Adhesive Tank Pads: Use warm water or a hairdryer to loosen the glue before peeling off.
🔹 For Leather Covers: Wipe with a damp cloth and apply leather conditioner occasionally.